Clearly Drawing in a windows form is easier, accessing data and the way data is displayed are much different, etc...
So to go about this, we will first create a simple Windows application, and I'll show you later on in this tutorial how I will embed it within our page. We will use Windows Control Library instead of a new Windows application.
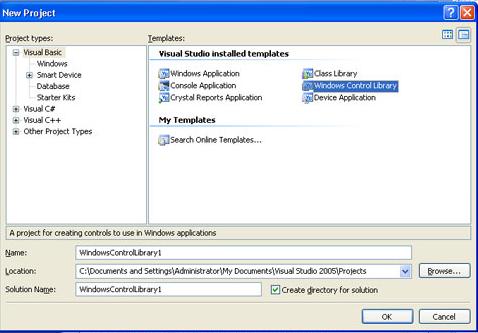
Open up visual studio, press File-->New-->Project.
Choose "Windows Control Library" and leave the other default settings.
Open up visual studio, press File-->New-->Project.
Choose "Windows Control Library" and leave the other default settings.
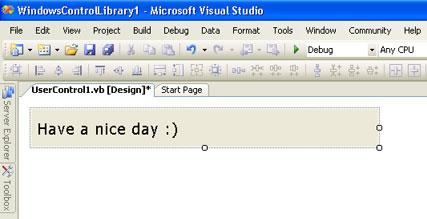
In the control library, insert a label into your form and save your changes.
Make sure you Debug the project because we will need the dll file produced to be used within our web application.
Make sure you Debug the project because we will need the dll file produced to be used within our web application.
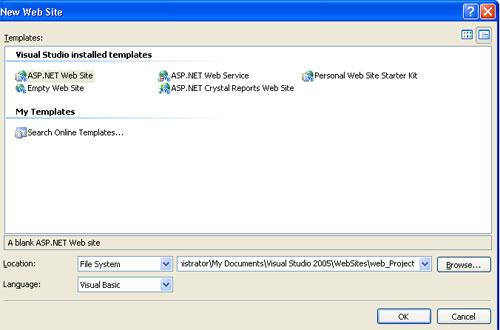
Now close the solution and create a new website.
To do so, press File-->New-->Website. Give your site a name. Mine is web_project.
To do so, press File-->New-->Website. Give your site a name. Mine is web_project.
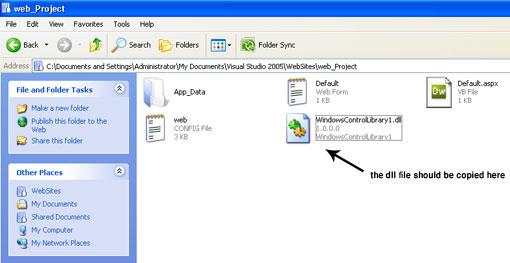
Now you will need your dll file produced in the previous project, copied to where your asp.net website is.
Usually, you should locate your dll file in "bin" folder of your project. Copy that dll and place it in the root of the website.
Usually, you should locate your dll file in "bin" folder of your project. Copy that dll and place it in the root of the website.
Now go back to your website in visual studio, and get the HTML code of the Default.aspx page.
Add the following code within the "form" tag:
Add the following code within the "form" tag:
<object id="myName"classid="http:WindowsControlLibrary1.dll#WindowsControlLibrary1.UserControl1"
height="70" width="350" VIEWASTEXT/>
Save your changes and Run the site. An alert will be prompted to you asking wether to trust the dll file or not.
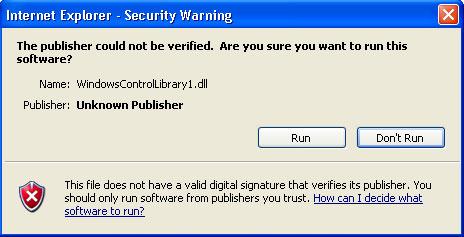
Click Run to allow the dll to be launched in Internet Explorer.
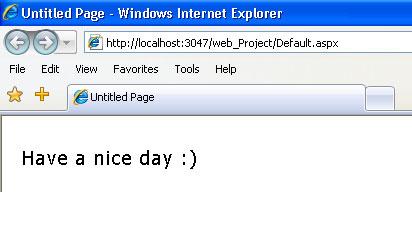
This will load the dll file to your web page. It should look something like image below:
This will load the dll file to your web page. It should look something like image below:
沒有留言:
張貼留言